Summary:
• Smart home setup typically starts with a connectivity audit, then layers in lighting, climate, security, and voice control on one network.
• Planning for device compatibility and Wi-Fi coverage before installation reduces the most common setup failures.
• Professional installation helps with configuration, integration across brands, and long-term reliability compared to piecemeal DIY purchases.
Setting up a smart home system means connecting lighting, climate control, security cameras, and entertainment devices to a single network so they can be managed from one app or voice command. Most homeowners build a system gradually, starting with one or two devices and expanding once the network and hub are stable.
Homeowners planning a smart home upgrade often need guidance on how to bring different technologies together into one integrated system. Smart Home Systems LLC offers professional smart home installation solutions, helping homeowners connect lighting, thermostats, security cameras, and voice controls. The following guide explains the key steps involved in planning and setting up a connected home, from network preparation to device integration.
Planning Your Smart Home Network Before Buying Devices
A smart home system is only as reliable as the network supporting it. Before purchasing any device, confirm these basics:
• Router placement and coverage: Wi-Fi dead zones cause more device failures than faulty hardware.
• Band separation: Many smart devices run better on a dedicated 2.4GHz band, separate from laptops and phones on 5GHz.
• Hub compatibility: Decide whether devices will connect through a central hub (Zigbee, Z-Wave) or directly over Wi-Fi.
• Account structure: One primary admin account with shared household access avoids lockout issues later.
Homes in Miami, FL often deal with high humidity, frequent storms, and older wiring in pre-1980s construction, all of which can affect signal strength and equipment placement.
Core Devices in a Typical Smart Home Setup
Most installations follow a similar sequence, starting with the systems that offer the most immediate, noticeable benefit.
|
Device Category |
Typical Function |
Installation Complexity |
|
Smart lighting |
Scheduling, dimming, remote on/off |
Low |
|
Smart thermostat |
Temperature scheduling, remote climate control |
Moderate |
|
Security cameras |
Indoor/outdoor monitoring, remote viewing |
Moderate to high |
|
Voice-controlled hub |
Central control of connected devices |
Low to moderate |
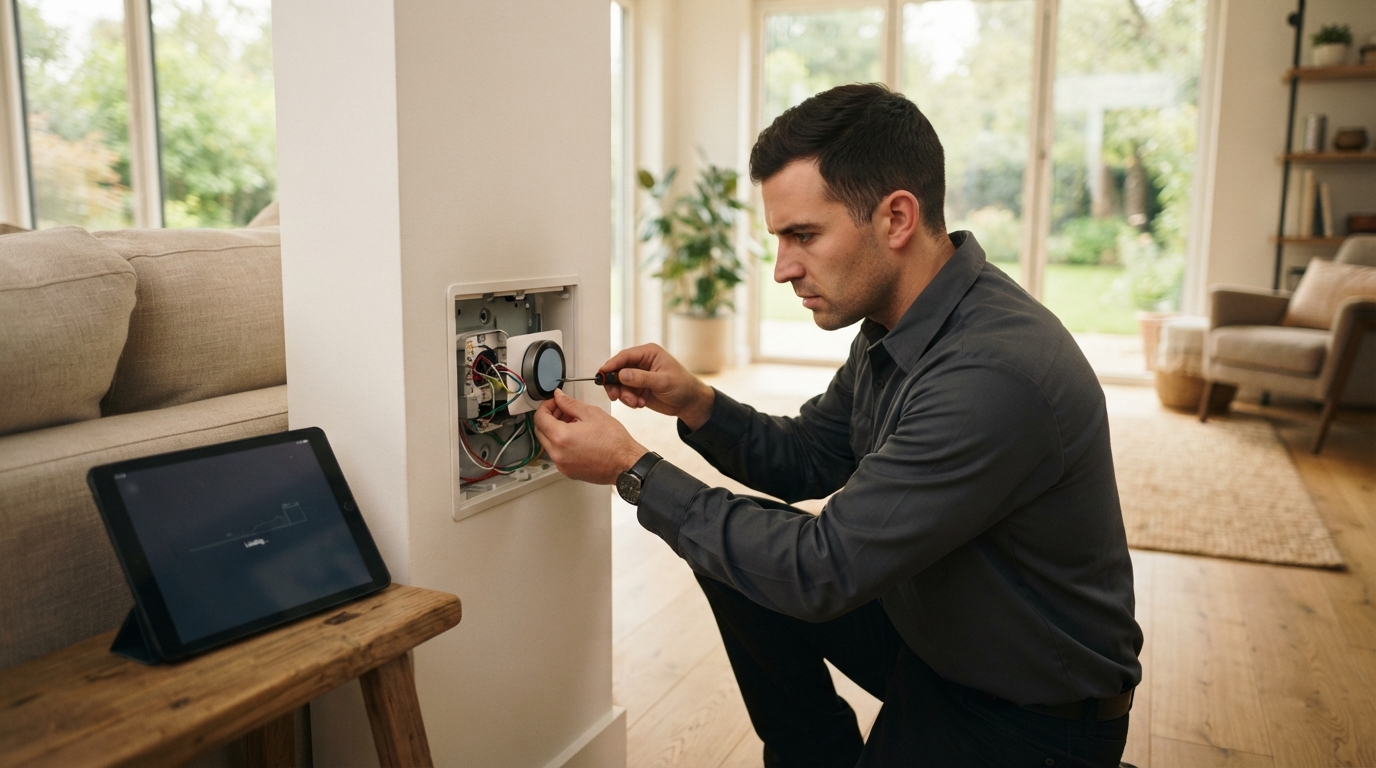
Smart thermostat installation is frequently the starting point because of measurable energy savings. According to the EPA’s ENERGY STAR program, savings are approximately 8% of heating and cooling bills or $50 per year on average, with results that hold regardless of climate zone. Security camera installation typically comes next, since it requires more deliberate planning around sightlines, power access, and storage for recorded footage.
Professional Installation vs. DIY Setup
Many smart home components are marketed as plug-and-play, but integration across multiple brands is where most DIY setups run into trouble.
DIY setup works reasonably well for:
1. A single smart speaker or hub
2. One or two smart bulbs or plugs
3. A basic Wi-Fi camera with no integration needs
Professional installation is generally more practical for:
1. Whole-home lighting and climate automation
2. Multi-camera security systems with remote monitoring
3. Voice control systems that need to bridge several device brands
4. Homes with older wiring or network infrastructure that needs upgrading
Configuration issues, not hardware defects, account for most support calls after a self-installed system goes live. Professional installation reduces that risk by addressing network setup, device pairing, and firmware updates before move-in day, which matters most in larger or older properties where signal interference is common.
Maintaining a Smart Home System After Installation
A connected home needs occasional upkeep to stay reliable:
• Update firmware on hubs, cameras, and thermostats as updates become available.
• Rotate or strengthen Wi-Fi passwords periodically.
• Review camera storage settings so footage is not lost due to full storage.
• Re-check device battery levels on sensors and locks every few months.
Humidity and salt air common to coastal properties in Miami, FL can accelerate wear on outdoor-rated equipment, making periodic inspection more important than in drier climates.
Frequently Asked Questions
How long does a full smart home installation take? Timelines vary by system size, but a single-room setup can often be completed in a few hours, while whole-home automation across lighting, climate, and security may take one to several days depending on wiring and network conditions.
Can older homes support smart home technology? Yes, though older wiring and weaker insulation around walls can require additional network equipment, such as mesh routers or signal extenders, to maintain consistent connectivity throughout the property.
Is a hub required for every smart home setup? Not always. Many modern devices connect directly to Wi-Fi, but a hub becomes useful once a household runs multiple device brands that need to be managed from a single app or voice assistant.
Ready to make your home more connected and convenient with a professionally installed smart home system in Miami, FL? Smart Home Systems LLC helps homeowners integrate smart lighting, climate control, security cameras, and other connected technologies into a coordinated home automation setup. Whether you’re planning a new installation or upgrading existing devices, professional integration can make everyday control simpler and more consistent. Contact Smart Home Systems LLC to discuss your smart home goals and installation requirements. Visit Smart Home Systems LLC on Google Maps for business details and contact information.